How to Build a Budget Gaming PC in 2026
Somewhere along the way, PC gaming earned a reputation as a rich person's hobby — a world of four-figure graphics cards and glowing liquid-cooled monstrosities. That reputation is misleading. A thoughtfully planned budget build can run the vast majority of modern games at smooth frame rates on a 1080p monitor, often for less than the price of a current-generation console once you factor in cheaper games and no subscription fees. The trick is not spending more; it is spending in the right order.
Building your own PC sounds intimidating the first time, but the process is closer to assembling adult LEGO than performing surgery: parts only fit where they belong, manuals are thorough, and thousands of video guides walk through every step. This guide gives you the complete mental model — which parts deserve your money and in what priority order, the compatibility rules that prevent expensive mistakes, exactly where it is safe to cut corners and where it is not, how to buy used components without getting burned, and a plain-language overview of assembly day. No prior experience assumed.
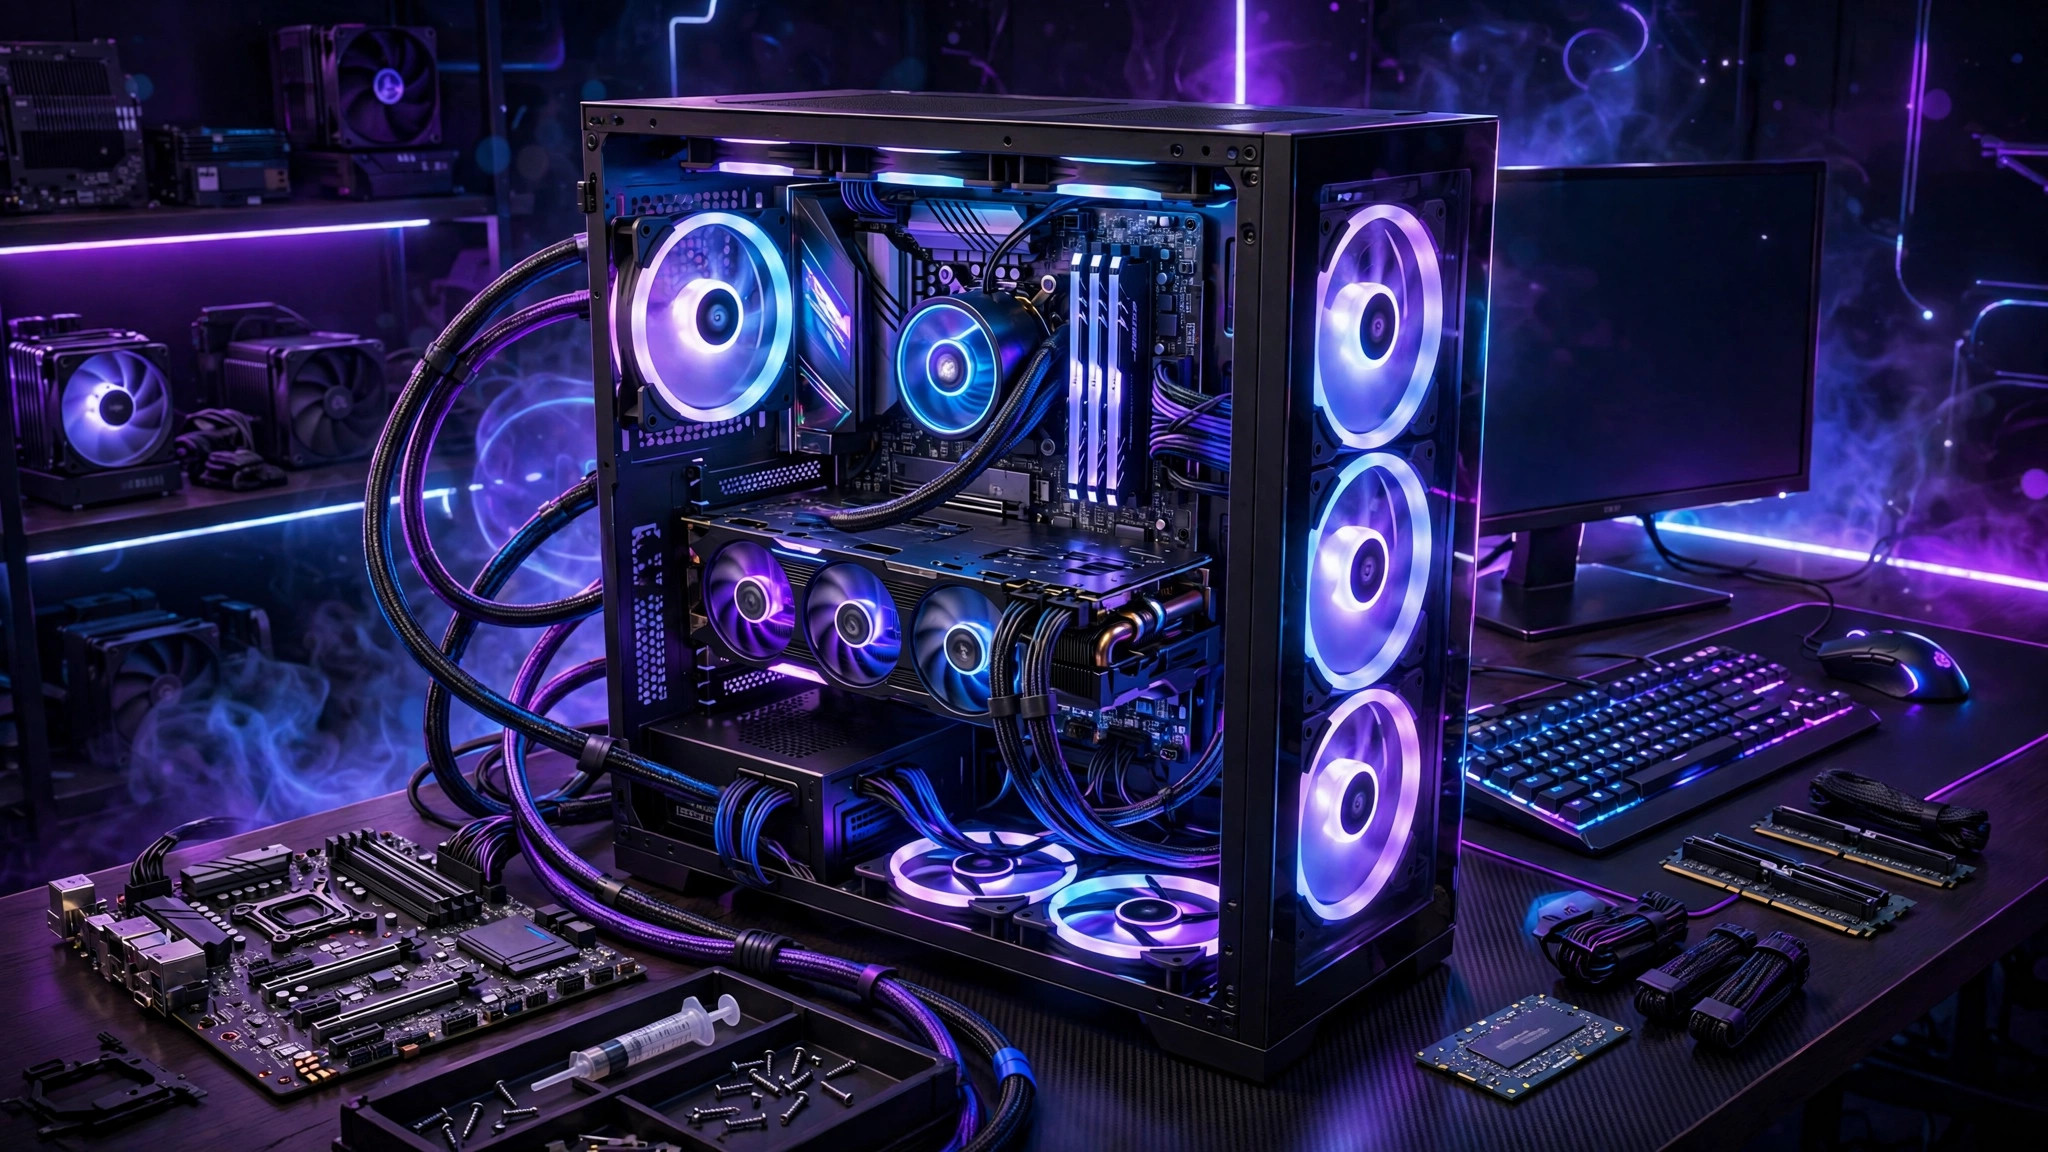
The Parts Priority Order: Where Your Money Goes First
Every build has a budget, and every budget forces choices. Spend in this order and you will get the most gaming performance per dollar.
1. Graphics Card (GPU) — The Top Priority
The GPU does the heavy lifting in games: rendering every frame you see. For a gaming PC, this single component typically determines your frame rate more than everything else combined. On a tight budget, allocate roughly 40–50% of your total build cost here. That does not mean buying the most expensive card — it means buying the best value card at your budget tier, which is usually one or two steps below the flagship. Last generation's mid-range cards, especially bought used, are the budget builder's best friend: they deliver 80% of the experience for a fraction of launch prices.
2. Processor (CPU) — Strong Second
The CPU handles game logic, physics, AI, and feeding data to the GPU. Here is the key insight beginners miss: for gaming, a mid-range CPU paired with a strong GPU beats a premium CPU paired with a weak GPU almost every time. You need enough processor to keep your graphics card fed — a pairing problem called a "bottleneck" — but beyond that threshold, extra CPU power buys you little in games. A solid six-core modern processor is the sweet spot for budget builds in 2026.
3. Memory (RAM) — 16 GB Is the Target
For gaming in 2026, 16 GB of RAM is the practical minimum; 8 GB will cause stuttering in newer titles, and 32 GB is a luxury rather than a necessity for pure gaming. Buy two sticks (for example, 2×8 GB) rather than one, because dual-channel memory measurably improves performance. Speed matters less than capacity at budget tiers — do not pay a premium for exotic RAM speeds while your GPU budget starves.
4. Storage (SSD) — Non-Negotiable
A solid-state drive is mandatory in 2026, not optional. Games installed on old mechanical hard drives load painfully slowly and can stutter as the game streams assets. A 500 GB to 1 TB NVMe SSD hits the budget sweet spot: fast, affordable, and roomy enough for your operating system plus a healthy game library. You can always add more storage later — it is the easiest upgrade in existence.
5. Power Supply (PSU) — The Unsexy Essential
The PSU feeds electricity to everything. It is the least exciting purchase and one of the most important, because a failing cheap unit can damage every other component. Buy from reputable manufacturers, look for an 80 Plus Bronze rating or better as a baseline efficiency marker, and choose wattage with headroom (more on that below). Never reuse a decade-old no-name PSU to save money — this is the one corner you do not cut.
6. Motherboard — Match, Don't Splurge
The motherboard connects everything. For budget builds, its job is compatibility and adequacy: the right socket for your CPU, the right RAM generation, enough slots for your parts, and reliable power delivery. Expensive boards add overclocking features, extra ports, and aesthetics that budget gamers will never use. Buy the cheapest board from a reputable brand that fits your CPU and has the slots you need — nothing more.
7. Case — Airflow Over Appearance
The case holds everything and manages airflow. Budget cases with mesh front panels and room for a few fans cool better than flashy glass boxes with choked intakes. Make sure your GPU physically fits (check the card's length against the case's clearance spec) and that cable management will not make you miserable. Tempered glass is nice; breathing components are nicer.
Compatibility Basics: The Rules That Prevent Disasters
PC parts are standardized, but not universally interchangeable. These are the compatibility checks that matter:
- CPU socket must match the motherboard. Processors only fit boards with the same socket type — an AMD chip will not fit an Intel board and vice versa, and even within brands, sockets change between generations. This is compatibility rule number one: pick your CPU and motherboard as a pair.
- RAM generation must match the motherboard. DDR4 RAM does not fit DDR5 slots and vice versa. The motherboard's specification tells you which generation it takes; buy exactly that.
- PSU wattage must cover your components with headroom. Add up the power draw of your CPU and GPU (the two hungriest parts), add ~150W for everything else, then add 20–30% headroom. A build with a 200W GPU and 100W CPU is comfortable on a quality 550–650W unit. Headroom keeps the PSU quiet, efficient, and ready for future upgrades.
- Physical fit matters. Large graphics cards, tall CPU coolers, and long power supplies do not fit small cases. Check three numbers before buying: GPU length vs case clearance, cooler height vs case clearance, and PSU length vs the case's PSU shroud.
- BIOS compatibility for new CPUs on old boards. Occasionally a motherboard needs a firmware update to recognize a newer processor. Most modern budget boards support updating without a CPU installed, but verify this before pairing a brand-new chip with a discounted older board.
When in doubt, use a PC part-picker website: these tools automatically flag incompatible combinations and estimate total wattage, catching most beginner mistakes before money changes hands.
Where It's Safe to Save vs Where It's Not
Budget building is the art of strategic compromise. Here is the honest breakdown.
Safe to save on: the case (airflow beats looks), the motherboard (basic but reputable is fine), RAM speed beyond the standard sweet spot, fancy CPU coolers (the stock cooler included with many budget CPUs is adequate), RGB lighting and aesthetics generally, extra storage beyond your first SSD, and premium thermal paste or cables.
Do NOT cheap out on: the power supply (a bad PSU risks everything), the SSD (no mechanical boot drives in 2026), and getting enough GPU — dropping one tier to afford a better case is backwards; the graphics card is the entire point of a gaming PC. Also do not buy the absolute cheapest motherboard with terrible power delivery if you plan any future CPU upgrade — a small step up preserves your upgrade path.
The golden rule: every dollar moved from aesthetics to the GPU improves your gaming experience; every dollar moved from the PSU to aesthetics risks it.
Buying Used Parts Safely
The used market is a budget builder's superpower — previous-generation GPUs and CPUs often sell for half their launch price while delivering the vast majority of the performance. But used buying needs a method.
- GPUs: the best used value. Ask the seller whether the card was used for mining (heavy 24/7 load), request photos of the card working with a benchmark or game running, and check temperatures under load — anything consistently above 85°C suggests worn thermal paste or failing fans. Test in person when possible.
- CPUs: very safe used. Processors rarely fail and have no moving parts. A used CPU from a reputable seller is one of the lowest-risk purchases in PC building. Just verify the exact model and that no pins are bent (for pin-style chips).
- RAM and cases: safe. Memory either works or it doesn't — ask the seller to confirm it passes a memory test. Cases are just metal; check for missing screws and damaged panels.
- What to avoid used: power supplies (you don't know their history or remaining lifespan — buy new), storage drives (unknown wear; SSDs have finite write lifespans), and motherboards from unknown sellers (bent socket pins are easy to hide and fatal).
- Protect yourself: buy on platforms with buyer protection, pay with traceable methods, keep all messages, test components immediately on arrival, and be deeply suspicious of prices far below market rate — that is how scams advertise.
Assembly Overview: What Build Day Looks Like
Set aside two to four unhurried hours, a clean table, a Phillips screwdriver, and your phone for looking up manuals. The order below is the standard build sequence:
- Prepare the motherboard first. Install the CPU (it only fits one way — align the triangle markers, never force it), then the RAM (open the clips, press firmly until they click), then the M.2 SSD if you have one. Doing this outside the case is far easier.
- Mount the motherboard in the case. Install the standoffs, align the board with the rear I/O cutout, and screw it down — snug, not gorilla-tight.
- Install the power supply and route its main cables loosely toward where they will connect. Cable management comes later; rough routing comes now.
- Seat the graphics card in the top PCIe slot until the retention clip clicks, then connect its power cables and secure its bracket to the case.
- Connect everything: 24-pin motherboard power, CPU power (usually top-left of the board), GPU power, front-panel connectors (power button, USB, audio — the fiddliest step; your motherboard manual diagrams it), and case fans.
- First boot test. Connect a monitor, keyboard, and power — then press the power button. If fans spin and you see the BIOS screen, celebrate: the hardware works. If nothing happens, don't panic — recheck the front-panel power connector and the PSU's rear switch first; those two cause most "dead build" scares.
- Install the operating system from a USB drive, then install motherboard and GPU drivers from the manufacturers' official sites — not from random driver utilities.
Two beginner truths worth internalizing: components are tougher than they look (aside from CPU pins, everything tolerates firm, sensible handling), and the manual is always right — when a video guide and your motherboard manual disagree, follow the manual.
After the Build: Setup That Actually Matters
Once Windows or your OS of choice is installed, a short checklist separates a good build from a great one: enable XMP/EXPO in the BIOS so your RAM runs at its rated speed (it defaults to slower speeds otherwise — this single setting is the most commonly missed free performance in budget builds); update your GPU drivers; set your monitor to its highest refresh rate in display settings; install games on the SSD; and run a quick stress test or demanding game while monitoring temperatures to confirm cooling is adequate. Then stop tweaking and play — the build serves the games, not the other way around.
Frequently Asked Questions
How much should a budget gaming PC cost in 2026?
A capable 1080p gaming build typically lands between $500 and $800 using a mix of new and used parts. Below $500 is possible but forces painful compromises; above $800 enters mid-range territory with high-refresh-rate 1080p or entry 1440p performance.
Is it cheaper to build or buy a prebuilt PC?
Building is usually cheaper for the same performance and teaches you to upgrade later, but prebuilts make sense during GPU price spikes or if you value a single warranty. Compare a parts list against prebuilt prices before deciding — sometimes sales flip the math.
Can I upgrade a budget PC later?
Yes — that is the platform's greatest strength. Typical upgrade paths: add more storage anytime, add RAM, drop in a stronger GPU in a few years, and eventually a newer CPU on the same motherboard socket. A quality PSU bought today powers tomorrow's upgrades.
Do I need Wi-Fi on the motherboard?
Only if you cannot run an Ethernet cable to your desk. Wired connections are faster and more stable for gaming. If you need wireless, a motherboard with built-in Wi-Fi is cleaner than a USB adapter, but it is an easy place to save money when every dollar counts.